Step 1. Remove the left rear wheel.
Step 2. Remove the airbox by tilting back the rear cargo bed, taking off the three 10mm bolts, and loosening the two air hose clamps that secure the airbox in place.
Step 3. Remove the 10mm zerk fitting located on the upper A-arm forward mounting bolt. This makes removing the clutch cover much easier.
Step 4. Remove the screws and pull the outer clutch cover off your Ranger.
Step 5. Loosen the driven clutch center bolt to the point in which you can separate the two halves of the driven clutch. Next, pull the drive belt out from the bottom of the driven clutch, then rotate the clutch counterclockwise, and walk the drive belt up and out as you do so.
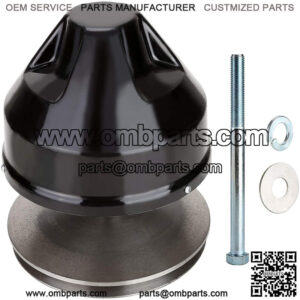
Step 6. Remove the drive clutch by taking the center bolt out; inserting the clutch puller tool; bracing the drive clutch with a pry bar wedged against the rear suspension A-arm; and turning the puller tool until the drive clutch breaks free.
Step 7. Inspect the drive clutch sheaves for any grooves, and the central shaft for signs of wear. If there’s too much wear, the drive clutch will need to be replaced.
Step 8. Remove the front plate from the old drive clutch and take out the clutch spring. The plate is under tension from the spring, so either have someone hold the front plate down as you unbolt it, or screw the plate down with a length of half-inch threaded rod, a nut and washer.
Step 9. Remove the three shift weights by taking out the 3mm Allen bolts securing them in place. Clean the weights thoroughly.
Step 10. Remove the front plate from the new drive clutch, making sure to mark the front plate and the drive clutch body beforehand so you can reassemble it in the correct orientation.
Step 11. Apply a very light film of grease to the 3mm Allen bolts, and install the shift weights from the old clutch into the new drive clutch assembly. Tighten the Allen bolts until they bottom out, but don’t overtighten them, as the weights need enough play to pivot freely.
Step 12. Install the spring from the old clutch into the new drive clutch assembly and reinstall the drive clutch front plate. Once again, have someone hold the front plate down as you install it, or screw it down with the half-inch threaded rod, nut and washer. Torque the front plate bolts to 9 foot-pounds.
Step 13. Clean the drive clutch sheaves, and lightly scuff them using brake/contact cleaner and a Scotch-Brite pad. It’s necessary to scuff the sheaves so they provide a grip for the drive belt when the Ranger is running again.
Step 14. Reinstall the drive clutch, and torque the center bolt to 96 foot-pounds.
Step 15. Install a new drive belt, then reinstall the clutch cover, zerk fitting, airbox and rear wheel and you’re done.
“Keyword”
“how does atv clutch work”
“how does rzr clutch work”

