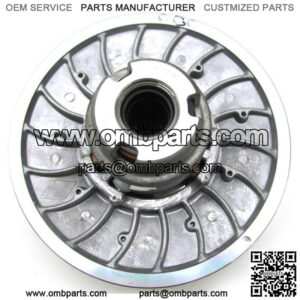
1. Remove the old clutch: The first step of replacing an ATV/UTV clutch is to remove the old clutch from the engine. In order to do this, you will need to disconnect the drive belt from the clutch, disconnect the shift linkage, and then remove the clutch cover. Once you have the clutch cover off, you can then remove the old clutch from the engine.
2. Install the new clutch: Once you have the old clutch removed, you can then install the new clutch. Start by connecting the drive belt to the new clutch and then reinstalling the clutch cover. Next, connect the shift linkage and then install the new clutch onto the engine.
3. Adjust the clutch: Once the new clutch is installed, you will need to adjust it. This is done by adjusting the tension on the drive belt, adjusting the shift linkage, and adjusting the clutch cable. If you are unsure of how to do this, it’s best to consult the owner’s manual of your ATV/UTV.
4. Test the clutch: After you have adjusted the clutch, it’s important to test it to make sure it is working properly. Start the engine and put it into gear.
“Keyword”
“how atv clutch works”
“how to replace atv utv clutches”